
Property handover: which photos and notes should you keep?
How to prepare a room-by-room walkthrough, describe what you observe, and leave a useful record for the tenant and the next visit.
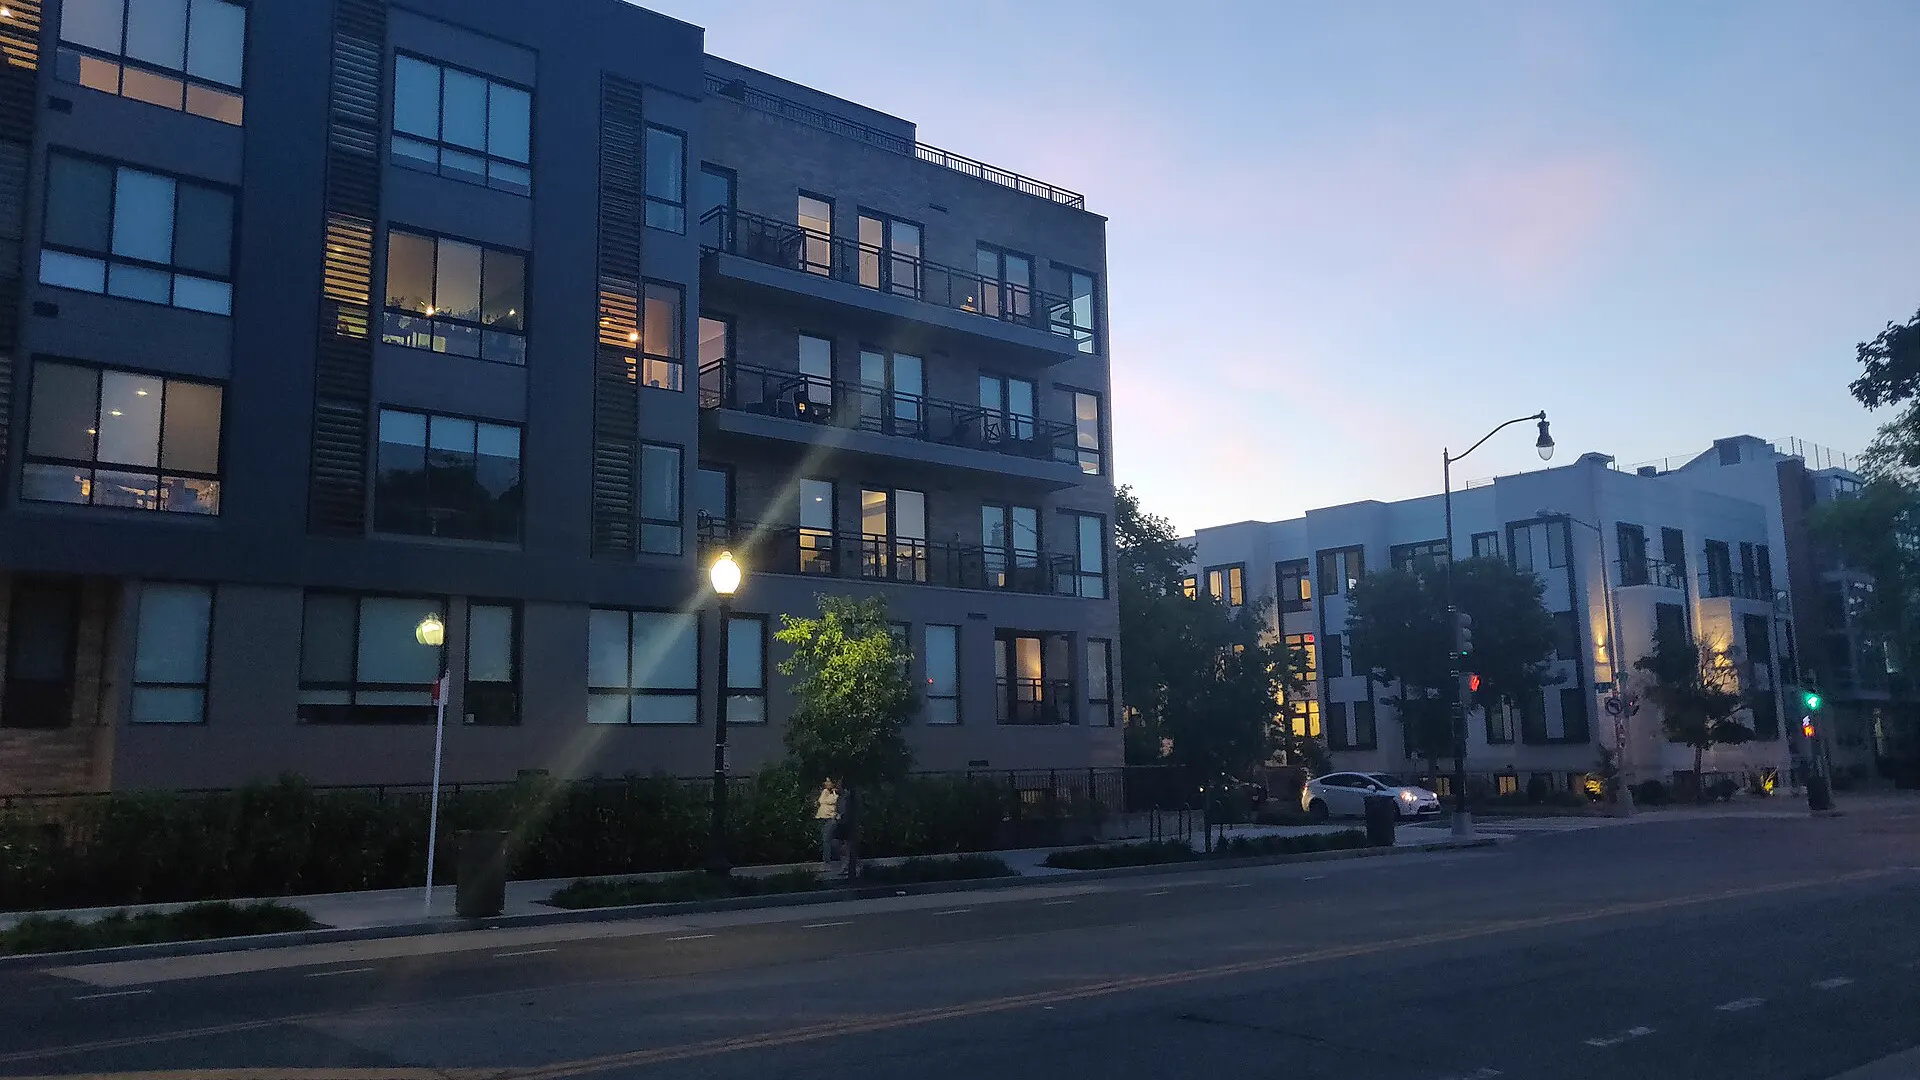
At a handover, it is easy to take plenty of photographs and document very little. A wide view shows the living room, but does not explain whether the door closes properly or what remains unresolved. The record should combine recognizable images, concrete observations, and next steps.
Prepare the record before the visit: identify the property, unit, date, and people taking part. Then walk through the rooms in an order you can repeat on a future visit.
Work through one room at a time
Start at the entrance and continue through the living room, kitchen, bedrooms, bathrooms, and outdoor areas. In each space, take a wide view followed by details that need an explanation. Check that the pictures are in focus before moving to the next room.
Describe observations precisely. “Mark approximately five centimeters long beside the bedroom window” is more useful than “damaged wall”. Record what you can observe without assigning a cause you have not confirmed.
Take two photos when a detail needs context
A close-up may show a mark without explaining where it is. Pair it with a wider view of the same area. Name both so you can connect them later: for example, main bedroom, window, overview and detail.
Avoid filters that hide color differences or edits that change the observed condition. If you need to mark a spot, retain the original and add a clearly identified annotated copy. Do not put yourself at risk to get a photograph.
Add what a photo cannot tell you
A picture does not explain whether a door closes properly or a technician's visit is still pending. Add short notes about the observed condition and any checks that have been agreed.
Also record the items handed over: the number of keys, access controls, and included accessories. Describe equipment clearly enough to identify it later. Avoid publishing pictures of keys, access codes, identification, or personal documents in public spaces.
Separate observations from follow-up work
If something needs attention, create a separate task. For example: “Adjust the wardrobe handle; owner: property management; next update: Friday”. Keep the original observation and add the outcome when the work is done. The record then preserves both the starting point and the resolution.
Review the observations with the tenant and share the record through the agreed channel. This can help catch a missed room, an unclear description, or a photograph from a different unit.
Before finishing the visit
Allow a few minutes to review the material with the people taking part:
- Are all rooms and included areas represented?
- Can each detail be located in a wider photograph?
- Does the list of handed-over items belong to this unit?
- Are outstanding tasks separate from observations already reviewed?
- Is it clear how the record will be shared and who will provide the next response?
If someone disagrees with an observation, record the difference without presenting it as an agreement. An open question is more useful than a conclusion that not everyone recognizes.
Store the walkthrough where you can find it
A name such as 2026-09-04_apt-2B_kitchen_faucet is more helpful than IMG_4821. Group the material by property and visit so nobody needs to search through personal phone photos to find it.
In Beni, you can keep photos and documents alongside a property and track outstanding work through maintenance. Decide who needs access and share only what is necessary: handover images are not automatically suitable for a public listing. These notes organize observations and do not replace the handover documents required by your lease.
For a furnished home, also read how to prepare a useful inventory.
When month-end arrives, use the checklist for reviewing payments, expenses, and open tasks.